Bloom Technique: Advanced Fluid Art Effects Guide
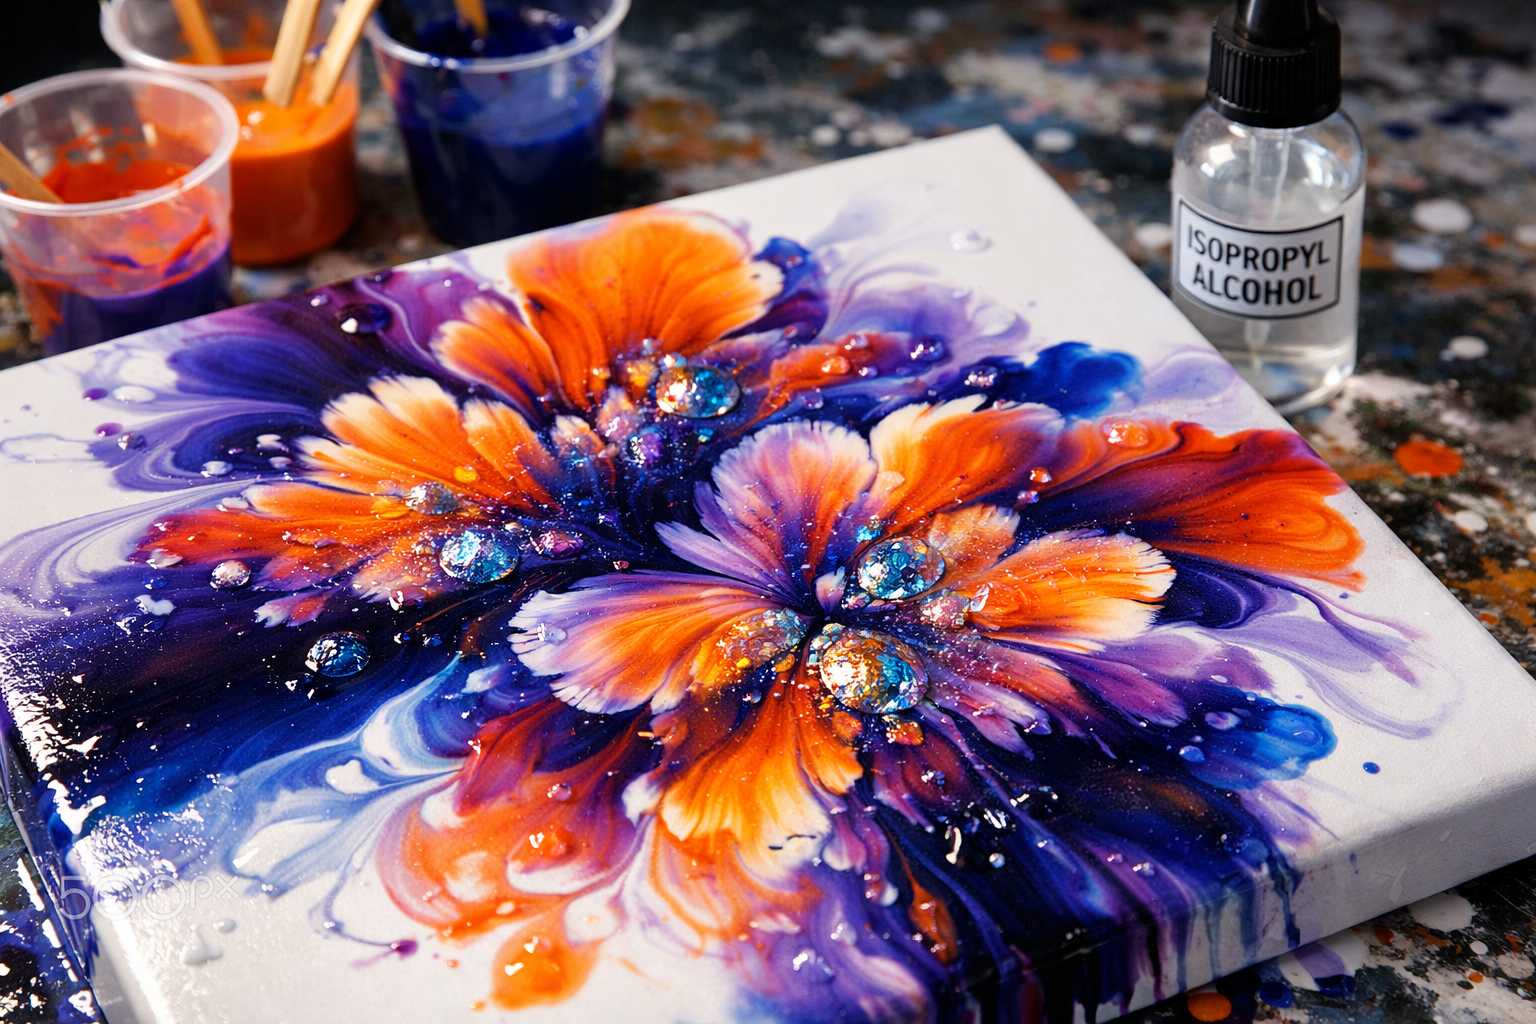
Delving into the Bloom Technique: A Comprehensive Guide to Advanced Fluid Art Effects
An exciting journey awaits those who wish to explore the creation of dazzling fluid art. The bloom technique paves the way towards achieving awe-inspiring visual effects. Let's journey together into this enchanting art realm.
Demystifying the Bloom Technique in Fluid Art
The bloom technique is instrumental in producing mesmerizing flower-like patterns within fluid artwork. This intriguing occurrence stems from the interplay of varying paint densities on the canvas, culminating in the birth of striking, organic shapes seemingly blooming before your eyes.
The approach capitalizes on the innate flow characteristics of the paint. Denser paints tend to rest as the base, while the lighter variants ascend, generating the heavenly, dreamlike effects all art enthusiasts adore.
The Essentials for Crafting Bloom Effects
The initial step towards creating your blooms lies within gathering the necessary materials. Fret not, most, if not all, can be easily found around your house.
Fundamental Materials: - Acrylic paints (variety of consistencies) - A suitable canvas or alternative painting surface - Mixing utensils like cups - Tools for stirring such as sticks - Silicone oil - Isopropyl alcohol - Blow dryer or a heat gun
Important Tip: The quality of the paints you use can be a game-changer. Dabble in top-quality pigments for the most vivid blooms.
Importance of Paint Consistency in Fluid Art
Creating the perfect bloom effect in fluid art largely depends on the paint consistency. It's essentially the hidden secret behind captivating artworks.
Dense paints form the foundational layer, providing steadiness to your artwork, while light paints gliding above create the magical bloom effects.
Ensure that your paints are mixed into a variety of consistencies. Some should resemble the flowy nature of honey, while others should have the effortless pour of milk.
Your Step-by-Step Guide to Mastering the Bloom Technique
Eager to create your unique piece of art? Follow this straightforward guide.
Setting Up Your Workspace
Choose a location that's well-ventilated for setting up your workspace. Use plastic sheets to protect surfaces from potential messes.
Ensure that your painting surface is leveled using small pedestals like cups or blocks. This helps maintain a uniform flow of paint.
Mixing Your Paints
Begin with your standard colors. These should be mixed to achieve a honey-like consistency. Gradually incorporate water or your chosen pouring medium.
Introduce contrasting paints of different densities. These will eventually become the blooming elements in your artwork.
Constructing the Base Layer
Start your artwork by pouring the densest mixture of paint. Spread this evenly across the canvas to form your base.
Take your time with this step since a solid foundation serves as an enabler for other elements.
Crafting the Blooming Elements
Now comes the magical part. Apply lighter mixtures of paint onto your foundational layer and observe as they effortlessly spread.
Experiment with different sized droplets. While smaller droplets result in delicate blooms, larger ones create a more assertive statement.
Advanced Techniques to Perfect Your Blooms
Prepared to kick things up a notch? These advanced techniques can help you transform your art into exclusive masterpieces.
Silicone Oil Technique
Include a few drops of silicone oil into your paint. This will generate spectacular cellular effects within your blooms.
Remember, less is more when dealing with silicone oil. A mere 2-3 drops per paint cup should suffice.
Heat-Activated Blooming
Employ a blow dryer to promote the formation of blooms. The heat aids in enabling paints to move and interact.
To avoid cracking your paint layer, be sure to continuously move your heat source.
Alcohol Drop Technique
Incorporate isopropyl alcohol onto the wet paint to produce instant blooming effects. The alcohol causes the paint to recede, leaving behind perfect circles.
For desired accuracy, use a dropper. Different droplet sizes yield various-sized blooms.
Utilizing Color Theory for Breathtaking Blooms
The colors you choose can make or break your fluid art. Understanding how colors interact can transform average pieces into remarkable ones.
Complementary Color Blooms
Utilize colors that are opposites on the color wheel. Think along the lines of blue and orange, or red and green. Such combinations generate vibrant and eye-catching blooms.
Analogous Blooms
Stick to colors that are adjacent to each other on the color wheel. This approach results in tranquil and soothing blooming effects.
Monochromatic Magic
Experiment with different shades of the same color. This technique births subtle yet classy blooming patterns.
Troubleshooting Common Issues
Even the most proficient artists encounter obstacles. Here's how you can counter the most common issues.
Failure to Form Blooms
The issue could lie in your paint consistency. Try tweaking your ratios and adding more water to lighten overly dense paints.
Monitor the temperature as it impacts paint flow. Warm paints tend to flow more freely.
Color Mixing Troubles
This usually occurs when too many colors blend together. Next time, try using fewer colors and initially keeping complementary colors apart.
Disappearing Blooms
In cases where blooms are vanishing, your base paint may be too thick. Attempt thinning it out slightly to allow blooming paint to penetrate the surface layer.
Completing Your Artwork
Patience is key during the finishing stage. Ensure that your artwork is absolutely dry before moving it.
Drying Procedure
Allow a period of 24-48 hours for your piece to dry completely. Thicker layers of paint take longer to dry. Avoid rushing this critical step.
Applying a Protective Layer
Once your piece is dry, add a clear varnish. This layer will protect your stunning blooms against potential dust and UV damage.
Fun Creative Variations to Try
Continue to explore novel approaches. Here are a few intriguing variations to test.
Multi-Layer Blooming
Create blooms at various drying stages. This technique adds awe-inspiring depth to your artwork.
Controlled Blooming
Make use of stencils or tape to determine the areas will bloom. This results in ordered geometric bloom patterns.
Tool-Assisted Blooms
Use brushes, straws, or palette knives to direct the formation of blooms. This technique gives you the freedom to control the movement of your paint.
Consistency Commandments
Achieving consistency requires both habitual practice and attention to minute details.
Maintain Detailed Records
Note down your specific paint ratios and techniques. These records are your guide when recreating successful pieces.
Monitor Your Surroundings
Paint reacts differently to temperature and humidity. Strive to maintain a stable environment.
Practice Habitually
Devote time for experimentation. The more you practice the bloom technique for fluid art, the more proficient you'll become.
Advancing in Your Bloom Technique Journey
Feeling confident enough to push your boundaries? The following advanced recommendations can guide your exploration.
Larger Blooms
Attempt this technique on a larger canvas. Expansive blooms serve as commanding focal points.
Mixing Media
Integrate blooms with other fluid art techniques. Layering different methods generates complex and stunning outcomes.
Commercial Ventures
Mastering the bloom technique could result in profitable ventures. Consider putting up your pieces for sale or offering workshops.
Final Thoughts
The bloom technique offers endless avenues for creativity in the realm of fluid art. Begin with basic methods and gradually experiment with more advanced techniques.
Remember, every artist's journey is one of a kind. Embrace the erratic nature of fluid paints and allow the blooms to guide you towards artistic revelations.
The creation of your next masterpiece is as close as the next bloom. Pick up your paints and start creating today!