Dirty Pour Method: Essential Fluid Art Guide 2026
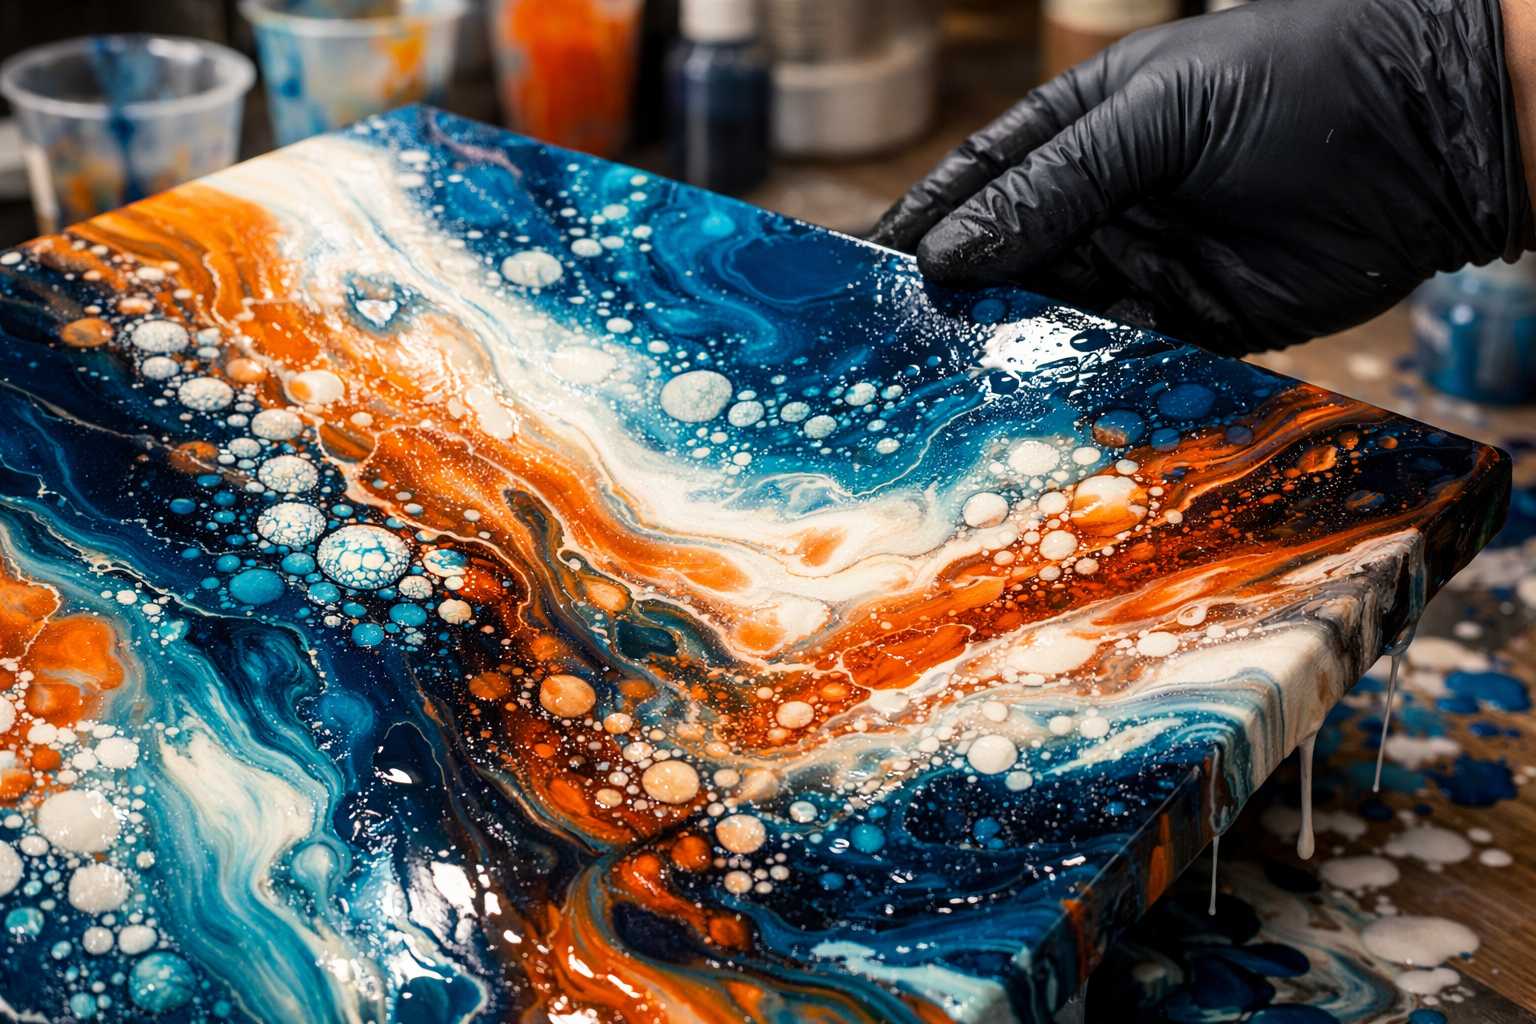
Essential Guide to the Dirty Pour Method in Fluid Art 2026
The dirty pour approach is taking the artistic community by storm, captivating spectators with its unpredictable, captivating patterns.
Whether you're an absolute novice or striving to perfect your craftsmanship, this guide will revolutionize your fluid art experience. So, let's immerse ourselves in the captivating world of dirty pouring!
What is the Dirty Pour Method?
The dirty pour technique requires combining several paint colors in a single container before pouring them. Unlike clean pouring, where colors remain separate, this method allows for delightful color blends.
Consider it as ordered mayhem. You provide the paints with an environment to interact spontaneously while maintaining a certain degree of control over the result.
The outcome is organic motifs, impossible to reproduce identically. Every single piece emerges as a unique work of art.
Essential Tools for Success in Dirty Pouring
Paints and Additives
- Premium acrylic paints
- Pouring medium (Floetrol or its alternatives)
- Optional silicone oil for cells
- Pure distilled water
Equipment and Utensils
- Mixing cups of varying sizes
- Wooden mixing sticks
- Canvas or any other painting base
- Protective gloves
- Protective coverings or plastic linings
Professional Advice on Storage
Arrange your materials neatly in a specific art cart. It saves precious time and ensures your creativity flows without a hitch.
A Step-by-Step Breakdown of the Dirty Pour Technique
Preparing Your Paints
Begin by blending each color with your pouring medium. The mixture should have the consistency of warm honey.
Gradually add the medium. An excess quantity results in dull outcomes whereas too little leads to cracking.
To test your consistency, lift the stir stick. The paint should smoothly flow back into the cup.
The Blending Process
Select 3-5 compatible colors. An excess of colors often results in a dull outcome.
Pour each prepared color into your designated pouring cup one at a time, ensuring a smooth transition.
Resist the urge to stir! Allow the colors to form natural barriers that will preserve distinct color sections.
The Pour
Tilt your canvas at a slight angle to facilitate the natural flow of paint over the surface.
Pour slowly from a fixed point. Let gravity do the majority of the work.
Guide the paint gently by subtly tilting your canvas. Avoid sudden movements that may result in unwanted mixing.
Advanced Dirty Pour Strategies
Tactics for Layering Colors
Dark colors tend to sink while light colors tend to float. Leverage these physical characteristics to your advantage.
Position metallic colors in the middle layers. They will subtly shimmer through as the paint shifts.
Reserve white for the final layer in your pouring cup. It provides striking highlights when it surfaces.
Developing Vibrant Cells
Add a small droplet of silicone oil to each color before mixing to stimulate cell development.
Different paint densities also naturally form cells. Play around with varying consistencies.
A blast of heat from a hairdryer can activate dormant cells post-pouring. Employ judiciously for optimal results.
Troubleshooting Frequent Problems
Overmixed Colors
This issue arises when mutually exclusive colors are excessively mixed. Consider sticking to analogous color schemes if you're just beginning.
Pour with enhanced precision. Moderate, deliberate pours will better maintain the color's integrity.
Review your paint-to-medium proportions. Inaccurate blending can lead to poor color division.
Cracking Issues
An insufficient amount of medium can lead to cracking as the paint dries. It's better to use a tad more medium than needed.
Thickly applied paint is more prone to cracking. Endeavor to keep your pours considerably thin.
Environmental conditions also play a role. Avert drafts and drastic shifts in temperature during the drying process.
Inconsistencies in Coverage
An inadequate amount of paint results in exposed canvas. First, measure your surface's area.
Wetting your canvas with the medium beforehand can enhance the flow, especially on larger pieces.
Plan the direction of your pour before you begin. You should have a good idea of where you want the paint to go.
Color Theory for Dirty Pours
Complimentary Pairings
Blue and orange produce bright, contrasting works that stand out on any canvas.
Red and green make beautiful nature-themed pieces. Augment the richness with a touch of gold.
Purple and yellow combinations are both bold and sophisticated. Ideal for eye-catching pieces.
Harmonious Analogous Colors
Blues, greens, and teals evoke a calming, ocean-like tranquility. These combinations seldom disappoint.
Warm hues of oranges, reds, and yellows reflect the beauty of sunsets. A hit with art collectors.
Purples, pinks, and magentas manifest dreamy, heavenly effects. A darling on Instagram!
2026 Dirty Pour Art Trends
Environment-Friendly Materials
Environmentally safe mediums are earning greater popularity. Increasingly, artists are opting for plant-derived alternatives.
The use of recycled canvas and boards curtails environmental harm. Your artwork can be aesthetically and ethically pleasing.
Water-based concoctions enhance indoor air quality. This factor is gaining importance as more home studios are popping up.
Integration of Technology
Digital apps for color planning help artists envisage color combinations. A perfect blend of art and technology.
Documenting your process through time-lapse videos is becoming a standard practice. Acknowledge the value of sharing your creative process and the final product.
LED-supported drying setups generate more reliable results, making professional techniques accessible to hobbyists.
Reserving and Protecting Your Artwork
Best Practices for Drying
Even surfaces avert unwanted paint shifts. Utilize a leveling application on your phone for accuracy.
Dust-free spaces safekeep wet pieces. Consider assigning a specific drying zone in your workspace.
Patience reaps benefits. Hastening the drying procedure could ruin hours of meticulous work.
Quality Finishing
A superior varnish safeguards your investment. Do not stint on this final protective layer.
UV-resistant products counter fading. Your pigments will retain their vibrancy for years to come.
Proper framing enhances amateur artwork to professional standards. It's an investment worth considering.
Constructing Your Dirty Pour Art Portfolio
Tips on Documentation
Capture your pieces immediately following the pour. Wet paint often displays striking variability.
Natural light reflects the most faithful colors. Whenever feasible, take photos by a large window.
Multiple perspectives display depth and texture. Flat images just can't do justice to the full charm of fluid art.
Showcasing Your Work
Social media thrives on process videos. Display your methodology, not just the end result.
Join online fluid art communities. The encouragement and feedback will expedite your development.
Do participate in local art fairs. Never undervalue the allure of your work to art collectors.
In Conclusion: Embark On Your Dirty Pour Journey Now
The dirty pour technique opens up an infinity of creative prospects. Every pour presents a fresh insight into the behavior of paints and color interplay.
Begin with just three colors and the basic techniques. Gradually incorporate complexity as your confidence mounts.
Remember, what seem like "errors" might potentially turn into your most valued artworks. Learn to welcome the unpredictability that renders dirty pouring so irresistible.
As you practice, your distinct artistic voice will surface. The dirty pour technique constitutes merely the start of your thrilling fluid art expedition.
Are you set to craft your inaugural masterpiece? Assemble your tools and let the enchantment commence.