Easy Beach Scene Painting: Step-by-Step Guide for Beginners
Uncomplicated Beach Scene Painting: A Comprehensive Guide for Novices
The tranquillity of painting the ocean's gentle waves and sandy beaches is an irresistible allure. Creating a beach scene encapsulates the serenity of holidays and hazy summer days.
If you're a painting novice, fret not! Crafting an exquisite beach scene can be simpler than you imagine. Our guide will walk you through all the necessary steps.
Why Beach Scenes Are Ideal for Novice Artists
Beach scenes are forgiving and perfect for beginners. The effortless flow and random shapes found in the sea make any imprecision in the painting quite forgiving. The sandy foreground does not require meticulous detailing.
On the flip side, you may have pleasant memories associated with beaches. This positive personal connection will inevitably enhance your artwork and make the painting experience enjoyable.
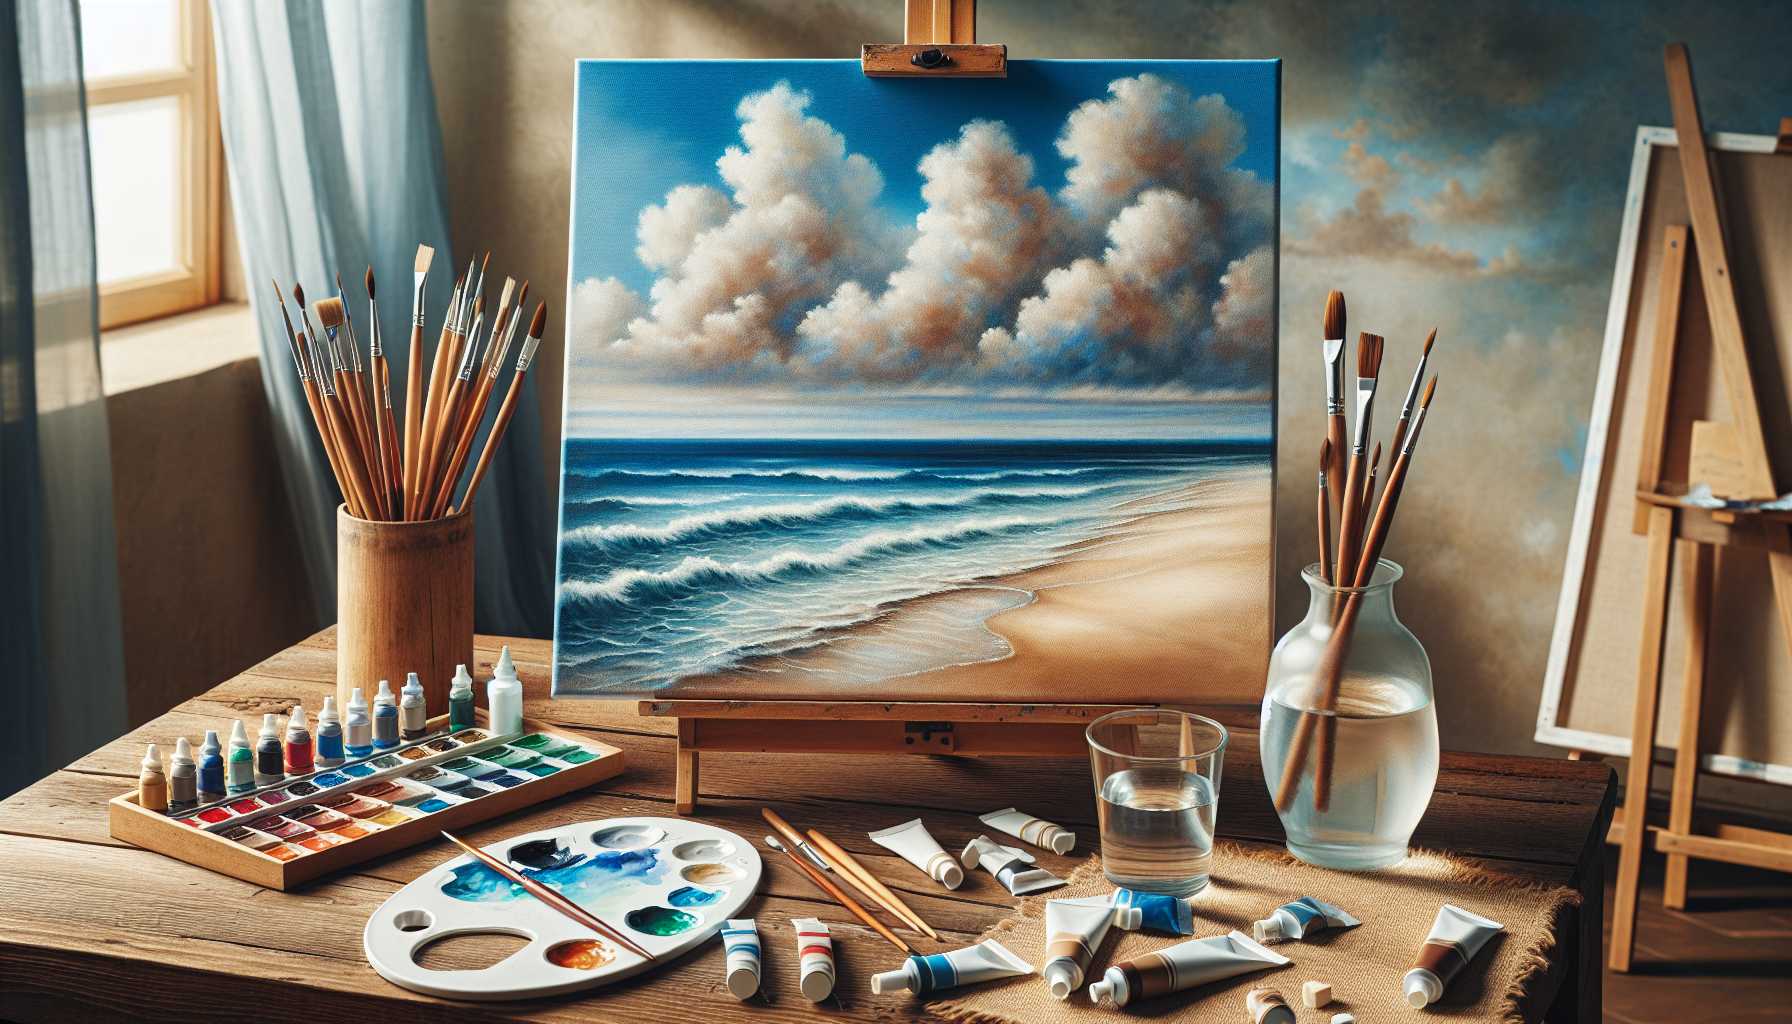
Must-have Supplies
Before we commence painting, make sure you gather these fundamental supplies:
- Canvas or watercolor paper (9x12 inches is ideal)
- Acrylic or watercolor paints
- Variety of brushes (flat and round in different sizes)
- Palette to mix colors
- Water container
- Paper towels for cleaning or a cloth
- Pencil for initial sketching
Busting the myth; you don't need extravagant materials. Basic student-grade paints are adequate for starters.
Picking the Appropriate Beach Scene Colors
A classic beach palette includes:
- Sky shades: Light blue, cerulean blue, ultramarine
- Ocean hues: Turquoise, teal, navy blue
- Sand tones: Beige, tan, light brown, cream
- White: For waves, clouds, and highlights
- Earth tones: Burnt sienna for wet sand
Blend and play around with these colors to create innate nuances. Authentic beaches have a plethora of subtle color fluctuations.
Step 1: Crafting Your Composition
Kickoff with a basic pencil sketch. Break your canvas into three main sections:
- Sky (upper third)
- Ocean (middle region)
- Beach (lower part)
Avoid placing the horizon line in the center; instead, position it slightly above or below, making it captivating.
Include basic shapes for elements such as clouds, waves, or beach features. Details can be overlooked at this stage.
Step 2: Commence with the Sky
The sky should always be the starting point of a beach painting. Moisten your brush and apply the light blue paint to the top section.
While the paint is wet, use a clean, damp brush to blend white into the sky for clouds using circular motions.
For a sunset scene, infuse warm colors like pink, orange, or yellow into the sky. Ensure complete drying of the sky before moving to the next step.
Step 3: Develop the Ocean Layers
The ocean should be painted in horizontal layers, beginning with the darkest shade at the horizon.
As you progress towards the shore, gradually lighten the blue by adding more white to your paint.
Replicate the sea's natural undulation with horizontal brushstrokes. Avoid a sleek finish - remember, oceans are characterized by their textured movements.
Step 4: Create Authentic Waves
Waves bring an element of fun to beach painting! Mix white paint with a hint of blue.
The caps of the waves should be painted with swift, confident strokes. Varying the size of some waves adds natural diversity.
At the juncture where waves meet the shore, add foam using the dry brush technique for a realistic texture. Scrape your brush lightly across the paint surface.
Step 5: Paint the Sandy Beach
Combine beige and brown tones for the sand color. Paint the beach patch with uniform, even strokes.
Darken the areas wet from waves and add lighter, dryer sand further up the beach.
Employ a fan brush or sponge to simulate the sand's texture. A light dab will keep the effect subtle.
Step 6: Decorate with Beach Elements
Now, for the cherry on top! Consider including:
- Seashells: Small oval shapes in white and pink
- Beach grass: Slim vertical lines of green or tan
- Driftwood: Brown irregular figures
- Footprints: Minor indentations in the sand
- Birds: Simple V-shapes in the distance
Maintain the simplicity and minimum detail to avoid cluttering your painting.
...
Commonly Made Beginner Mistakes to Dodge
Mistake 1: Overdoing the blue in the water Real sea water mirrors the sky; so use a blend of grays and greens along with blue.
Mistake 2: Uniform waves Natural waves are irregular and vary in size.
Mistake 3: Uniform sand color Sand exhibits shadows, wet patches, and varied colors.
Mistake 4: Over manipulation of the paint Sometimes, less indeed can be more. Be mindful of when to cease painting.
...
Hints for Producing Realistic Water Effects
Mastering fluid-like water effects can be challenging but highly rewarding. Here are some insightful tips:
Use horizontal strokes for depicting calm water, while vertical strokes can hint at choppier water conditions.
Render reflections darker than the actual objects as water reflections are not perfect mimics.
Add horizontal white lines to manifest light reflecting off gentle waves.
Use the wet-on-wet painting technique for a smoother water surface.
...
Invoking Atmosphere and Mood
Your beach scene can convey various moods:
Tranquil morning: Incorporate soft blues, pinks, and serene waves
Stormy day: Add grey clouds and dramatic wave action
Golden sunset: Use warm oranges, purples and extended shadows
The time of the day influences your color selection and direction of lighting.
...
Final Touches That Enrich the Painting
Take a step back to analyze your artwork. Include the following elements:
- Highlights on the crests of waves using pure white
- Darker shadows beneath the wave overhangs
- Reflected light from the sky onto the wet sand
- Tiny details like distant sailboats or birds
And don't forget the signature touch!
...
Practice Exercises for Progressing
Exercise 1: Try painting the same scene at varying times of the day Exercise 2: Center the focus on painting waves for multiple smaller studies Exercise 3: Experiment with mixing different sea colors Exercise 4: Attempt painting using photo references
Consistent practice will build your confidence as well as skills.
...
Remedies for Common Problems
Muddy colors: Clean your brush after each color change. Avoid overblending the paint.
Sharp lines: Smoothen edges while the paint is wet, using a clean, damp brush.
Flat-looking water: Introduce more contrast between light and dark regions.
Inauthentic waves: Derive inspiration from actual photographs of ocean waves.
...
Leveling Up Your Beach Paintings
After mastering the basic beach scenes, explore these advanced techniques:
- Experiment with varying weather conditions
- Paint beach scenes from unique viewpoints
- Include people or boats in your scenes
- Try distinct painting mediums like oils or pastels
- Paint on location at real beaches
...
Conclusion: Your Journey Into Beach Scenes Begins
Beach scene painting synergizes tranquillity and creativity. Each painting imparts a valuable lesson in color, light, and composition.
Don't strive for perfection in your maiden attempt. Remember, even accomplished artists started with simple beach scenes. The process should seem enjoyable rather than creating a masterpiece.
So, grab your brushes and let the canvas come alive with your first beach scene. The most significant step is to simply start.
Bear in mind, every expert artist was once a beginner. Your beach painting prowess will inevitably improve with each brushstroke. Here's wishing you a joyful painting endeavor.