DIY Paint Texture: 10 Easy Household Tools for Beginners
DIY Paint Texture: 10 Simple Household Tools for Beginners
Are you itching to add a unique touch to your monotonous walls? You won't need costly supplies or specialist skills. It's likely you have everything required in your kitchen drawers to craft gorgeous textured walls.
I've had more than ten years of experience painting walls, and I promise that these uncomplicated methods can produce amazing results. Let's break down the ten household tools that will transform your space.
Why Opt for DIY Paint Texture?
Creating texture on your walls is a cost-effective solution. Professional painters may charge you a hefty amount for a task that you can easily take on yourself. Not to mention, it's genuinely enjoyable once you hop onto the bandwagon.
Another bonus? Textured walls conceal imperfections. Scratches or dents are neatly textured and your walls look intended, not marred.
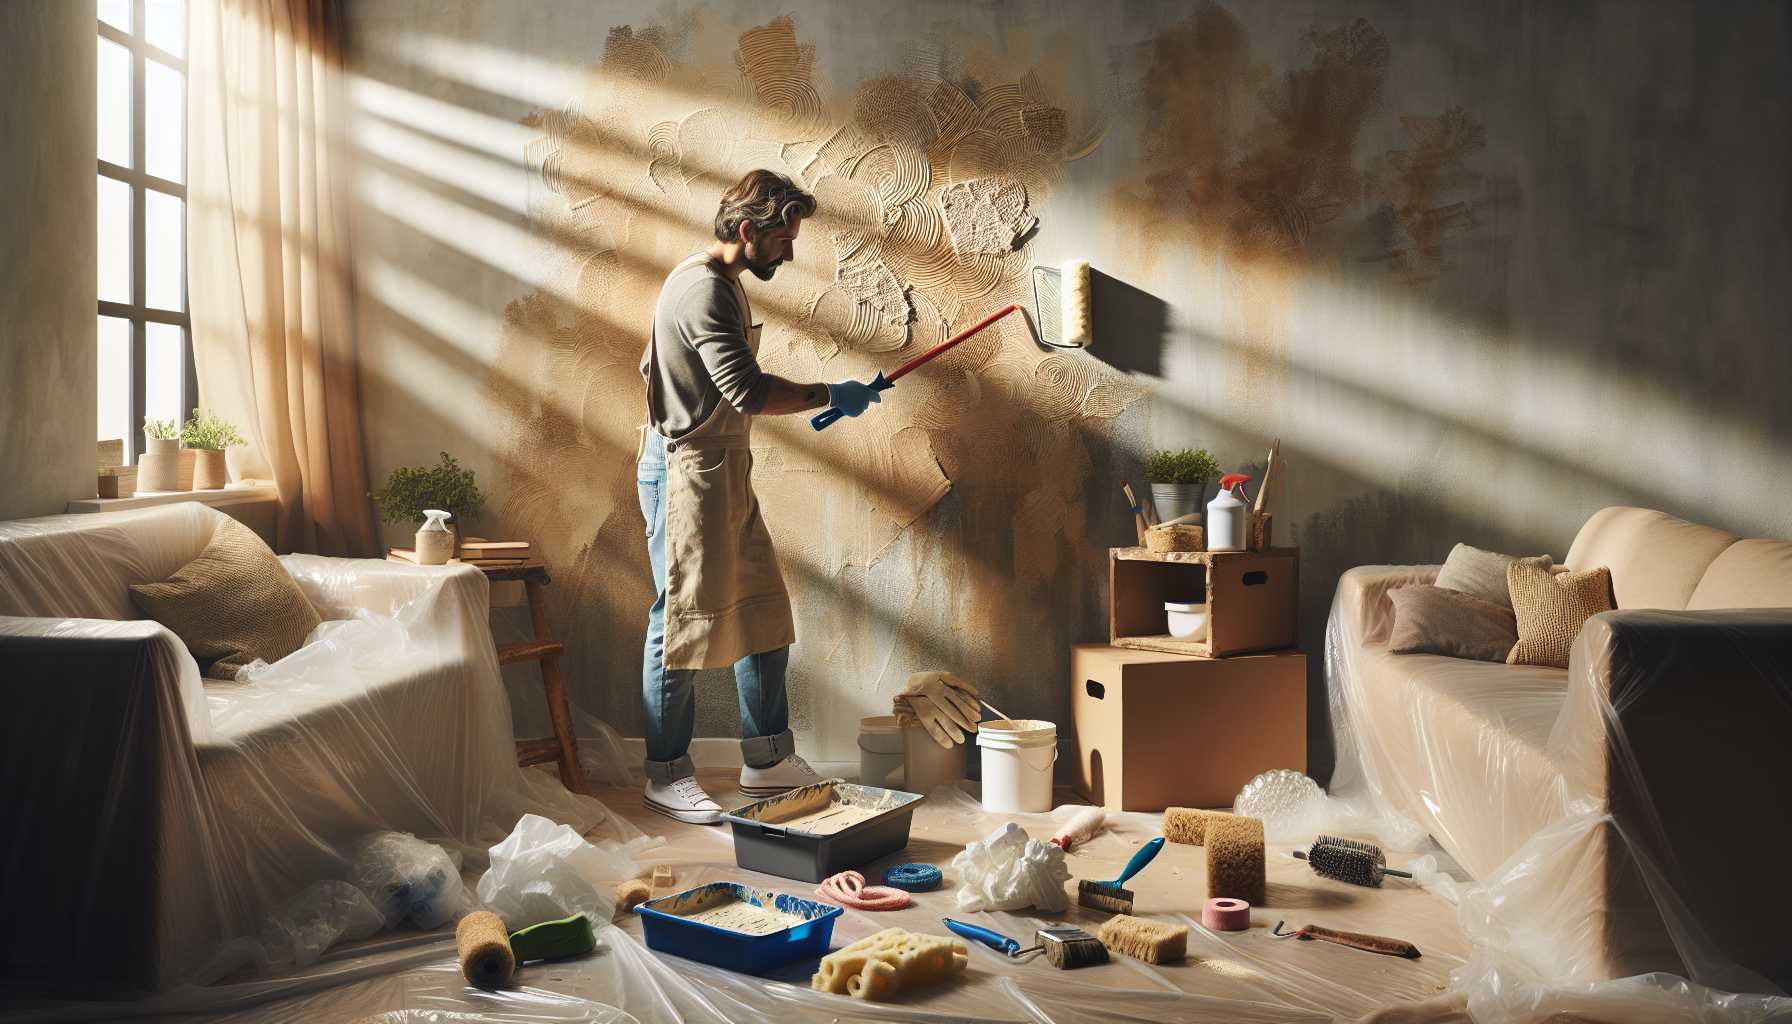
Vital Preparation Before Diving In
Before you grab your tools, it's crucial to prepare the space substantially. Clear away the furniture or protect it with plastic sheets. Take heed - paint splatters can reach surprising places.
Ensure the wall is clean and free from dust; its presence can interfere with the texture adhering properly. Let it dry thoroughly before proceeding.
If your walls are darker in color or have a glossy finish, priming is essential. This additional effort ensures longevity of your artistic endeavour.
1. Secrets of the Humble Kitchen Sponge
Ordinary kitchen sponges can deliver extraordinary texture. The coarse side makes for dramatic effects, while the smooth side offers subtle, refined patterns.
Soak the sponge in paint, and remove any excess on paper towels. Apply it to the wall in arbitrary patterns - dab without dragging.
Experiment with different shapes and sizes of sponges that can result in diverse patterns.
2. Paper Towels for Quick Texture
Paper towels are fantastic for creating texture. Crumple them for an organic, cloud-like effect. Smooth towels can provide distinct textures.
Roll these towels into a cylinder shape and apply it on wet paint to achieve a linear texture effect. Random changes in direction can provide a more natural look.
Experiment with applying different paper towel techniques in layers. Allow one layer to dry before adding another. The result is astonishing depth.
3. Repurposing Plastic Shopping Bags
Don’t discard your grocery bags just yet. When rumpled up, they serve as excellent tools for creating diverse, organic patterns.
Manipulate the bag loosely and dip it into paint, then apply it onto your wall. Twisting your hand between applications can prevent uninteresting repetition.
Different densities of plastic bags deliver different textures. Slimmer bags offer fine patterns, while thicker bags yield bolder impressions.
4. Rediscovering Old Toothbrushes
Toothbrushes aren't exclusive for oral hygiene; they create beautiful speckled textures on walls, perfect for accent walls or smaller spaces.
Load the toothbrush with paint and flick the bristles to create a splatter effect. Maintain a careful distance from the wall to control the splatter. Closer for dense patterns and farther for subtle effects.
5. Classic Plastic Wrap Technique
With plastic wrap, you can create refined, luxurious textures that seem costly but are actually done on a shoestring budget. Especially effective with metallic paints.
Press the wrap into wet paint, with slight wrinkles for more texture, for sharp patterns.
Experiment with various pulling actions. Straight pulls result in linear effects while twisting pulls result in a swirled appearance.
6. Cardboard Comb Innovations
Create your own texture tools by repurposing cardboard. Cut notches for comb-like patterns. Different sized cuts offer varied stripe widths.
Apply consistent pressure while dragging the cardboard through the wet paint for even lines. Experiment with curved movements for a more organic look.
7. Authentic Sea Sponge (or Substitutes)
Authentic sea sponges do come at a cost, but the effect produced is decidedly stone-like which makes it worth the investment, particularly if you are decorating expansive areas.
If budget is an issue, you can fake the look with regular sponges by creating random holes in them.
Experiment with different sponge colors layered for a more nuanced effect.
8. Bubbly Wraps for Fun
The joy of popping bubble wraps is universal among kids. Surprisingly, they create interesting geometric textures when used for painting.
Press the bubble wrap into the paint and create perfect circles on the wall. Different bubble sizes offer different pattern scale.
Try using both the flat and the bubbly side of the wrap for diverse effects.
9. Stringing Along with Ropes and Strings
Rope serves to create unusual, linear textures. Dip a chunky rope in paint and pull it along your wall in fluid movements.
To create spiral texture lines, twist the rope while dragging it.
Strings work similarly but differently. Dip a string in paint, apply it on the wall in a wave-like pattern, and carefully remove it for clean lines.
10. Feather-light Textures
Actual feathers bring a delicate texture to your wall, an ideal choice for a subtle accent. Apply feather lightly through wet paint for the best results.
By crossing and layering different feathers, you can create elegant patterns, especially when coupled with neutral colors.
Professional Tips for Better Outcomes
Initially, practice on a piece of cardboard. Each tool interacts differently with paint consistency. Work through what style you prefer before taking it to your wall.
Work in manageable sections. Keep in mind that paint dries quicker than you expect. Texturing needs to be done on wet paint for best outcomes.
Keeping moist rags close by is handy for immediate cleanup of any accidental spills.
Common Beginner Pitfalls to Avoid
Don't overcomplicate your texture. Overworked manipulations can appear messy. Remember, sometimes less is indeed more.
Avoid repetition. Always rotate your tools and change direction regularly. Effort to replicate nature’s randomness gives more visual satisfaction than perfect repetitiveness.
Remember, it's not a race. Take intermittent breaks to step back and evaluate your progress.
Selecting Suitable Paint
Opt for thicker paints as they create better textures. Avoid thin or watery paints as they don't offer the depth needed for texturing.
Choose eggshell or satin finishes; their semi-glossy finish beautifully highlights the texture.
Though not essential for beginners, consider paint additives like texture paste to achieve more dramatic effects.
Effective Color Combinations
Monochromatic color schemes ooze sophistication. Opt for different shades of the same color where a light base with a darker texture works well.
Earth tones such as beiges, browns, and grays are forgiving and thus perfect for first attempts at texturing.
Incorporating metallic accents add a touch of luxury. Bronze or gold paint when used sparingly, on neutral base colors, imparts an expensive look.
Wrapping Up
Mastering DIY paint texture doesn't require you to be an artist. All you need is patience and a readiness to experiment. Your walls will appreciate the character enhancement.
If you are just starting out, keep it small. Begin with one accent wall and build your confidence before moving onto entire rooms.
Remember, the goal here is to have an imperfect finish. Textured walls should reflect a natural and organic feel. Embrace the “mistakes” - they might become your new favorites.
Make the whole process enjoyable. Play some music, invite some friends over. It's your time to relax and enjoy, not stress over it.