Easy Toothbrush Splatter Art: Simple Paint Effects Guide
Crafting Spectacular Toothbrush Splatter Art: An Easy to Follow Guide for Aesthetic Paint Effects
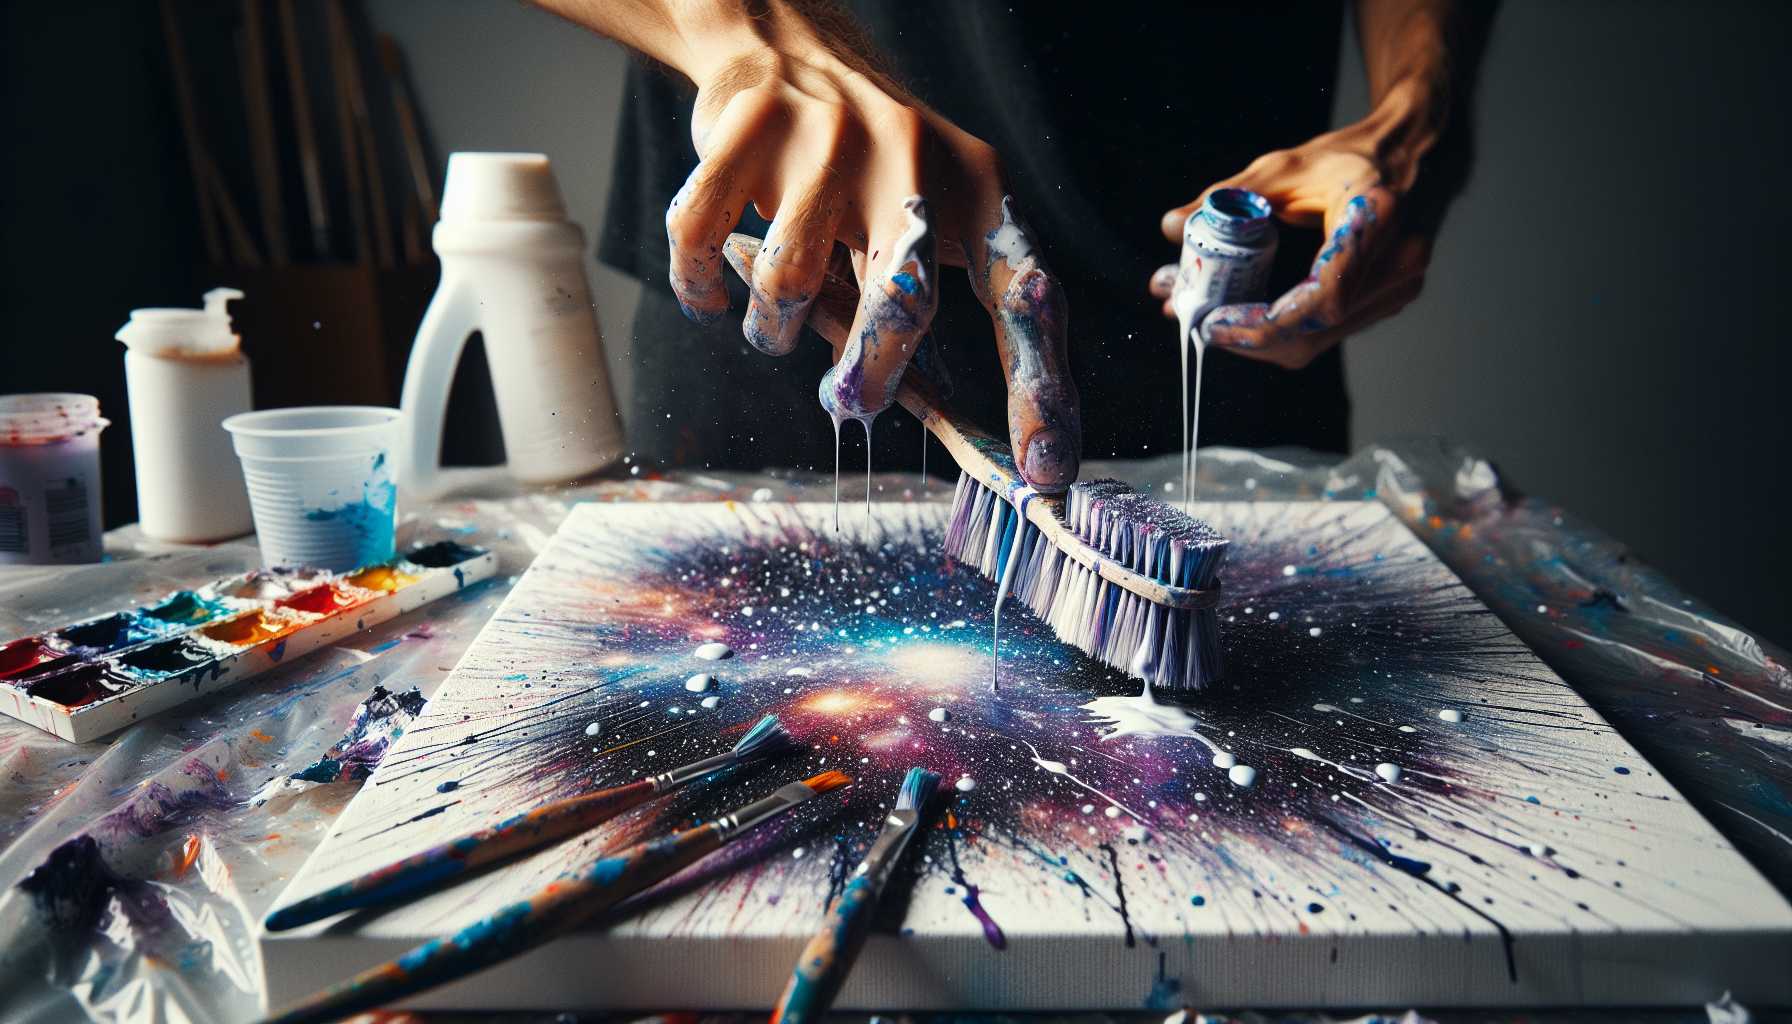
Have you ever dreamed of crafting dazzling artwork that mirrors the stars in a night sky or a vibrant galaxy? Look no further! Enlighten your artistry skills with toothbrush splatter art! This enjoyable technique utilizes a used toothbrush to generate magnificent paint effects that everyone can excel at.
The Concept Behind Toothbrush Splatter Art
Toothbrush splatter art refers to an artistic way of painting where an old toothbrush is utilized to splash paint onto paper. The bristles grasp the paint and let it go in the form of tiny droplets when you slide your finger across them.
This yields beautiful speckled effects. From crafting cosmic scenes to textured backgrounds, the scope is wide. It's an ideal choice for both kids and adults who love experimenting with their creativity.
Gathering the Necessary Supplies
Initiating the process is exceptionally simple. You may have most of the required supplies at your home already!
Must-Have Materials: - Used toothbrush (ensure it's not the one you're presently using!) - Acrylic or watercolor paints - Sheets of paper or canvas - Small containers for paint - Water for rinsing - Paper towels
Optional Add-ons: - Masking tape - Stencils or templates - An apron or old clothes - Plastic tablecloth
Organizing Your Workspace
Opt for a well-ventilated spot for this project. Beware that paint splatters can go in all directions, so make sure your surfaces are well protected.
Cover your workspace with newspaper or plastic sheeting. This can save you from a hectic cleaning session afterward. Ensure you have ample lighting to observe your masterpiece clearly.
Adorn old clothes or an apron since toothbrush splatter art can be a tad messy, but that's where the fun lies!
Getting Started with Basic Splatter Technique
Begin with the elementary method. This will form the stepping stone for all your future artwork.
Step 1: Getting Your Paint Ready
Blend your paint with a dash of water. Aim for a consistency akin to heavy cream. Avoid the mixture being very thick as it might not splatter appropriately. Too watery creates messy dribbles.
Pour controlled amounts into distinct containers. This prevents unintended color mix-up.
Step 2: Filling Your Toothbrush with Paint
Dip your toothbrush bristles into the paint. Do not fill them excessively. Remove extra paint by tapping on the edge of the container.
Keep the brush about 6-8 inches away from your paper. This distance aids in controlling splatter size.
Step 3: Mastering the Art of Splatter
Slide your finger across the bristles towards you. This action triggers paint droplets to land on your paper. Try out the movement a few times without paint to get a hang of it.
The quicker you move your finger, the more paint it releases. Slower movements yield fewer yet larger droplets.
Exploring Advanced Splatter Patterns
Having mastered the fundamentals, challenge yourself with these creative twists.
Layering of Colors
Commence with your lightest shade first. Allow it to completely air-dry before stepping ahead with darker hues. This technique lends depth and dimension to your artwork.
Build up the layers gradually. Each added color contributes to the complexity and richness of your final piece.
Splattering in Certain Directions
Orient your toothbrush to generate directional effects. Tilting the brush left or right directs paint to fly in those specific orientations.
This strategy is really useful for manifesting wind effects or motions.
Variations in Size
Alter the proximity from the paper. Keeping it up close creates smaller, denser splatters, while farther distanced creates larger, scattered droplets.
Combine different sizes for an interesting texture in a single piece.
Creative Project Propositions
Are you excited to demonstrate your expertise? Test your skill with these entertaining projects.
The Star-Studded Sky
Find dark blue or black paper and start your project. Splatter white and yellow paint to form stars. Enhance the effect by adding silver for extra gleam.
These can work as enchanting wall art for bedrooms or nurseries.
The Ocean's Waves
Create a layered look with blues and whites to simulate ocean spray effects. Begin with darker blues for depth, topped by light hues and frothy white on the surface.
The Vibrant Galaxy
Blend purples, blues, and blacks together. Incorporate white and silver splatters for a star-like effect. Create nebula effects through blending wet colors.
Seasonal Landscapes
Spring: Employ greens and pastels to illustrate a fresh garden atmosphere. Summer: Use vibrant yellows and oranges for sunny vibes. Fall: Utilize reds, oranges, and browns for autumn leaves. Winter: Opt for blues, whites, and silvers for snowy scenarios.
Troubleshooting Common Hurdles
Even proficient artists encounter challenges at times. Here's how to rectify common problems.
Paint Fails to Splatter
Your paint could be too thick. Mix in small amounts of water until you get the right flow. It's best to test on scrap paper first.
Examine your toothbrush bristles. If they're too stiff, it will not yield the right splatter. Softer bristles function better for this art.
Oversized Splatters
This might occur if you're too close to the paper. Step back a few inches and try again.
Also, check your paint's consistency. Thinner paint creates larger droplets.
Colors Appear Muddy
Ensure to clean your toothbrush between varied colors. Even minute amounts of residual paint can cloud your subsequent color.
Remember to let each layer completely dry before adding new colors on top.
Tips for Cleanup and Storage
Thorough cleanup assists in maintaining your supplies in prime condition for next time.
Clean your toothbrush immediately after use. Paint can dry quickly in the bristles. Warm soapy water is the best solution for acrylic paints.
Transfer leftover paint in containers with a tight lid. Label them with color names and dates.
Safeguard your finished artwork by keeping it flat until completely dry. This prevents smudging or color running.
Safety Suggestions
Art must be a joyful and safe venture for everyone involved.
Always opt for non-toxic paints, particularly when children are involved. Thoroughly read the labels before getting started.
Ensure your workspace has good ventilation. Some paints may release noxious fumes while they dry.
Provision of adult supervision while children engage in splatter activities is advised. The technique involves a certain level of force which might lead to accidents.
Taking Your Art to the Next Level
Once you fall in love with toothbrush splattering, there are advanced techniques to explore.
Incorporating Different Techniques
Consider merging splatter effects with traditional brush painting. Splatters can add texture while brushes manage the details.
Experiment with stencils for well-defined shapes with textured backgrounds.
Trying Different Tools
Play around with different brush types. You might find nail brushes, scrub brushes, or even old makeup brushes to yield unique effects.
Each tool fabricates distinct splatter patterns and sizes.
Professional Uses
Numerous professional artists incorporate splatter techniques in their artwork. The famous artist, Jackson Pollock, is known to use similar techniques in his masterpieces.
Consider enrolling in art classes to enhance your skills further.
Final Thoughts
Toothbrush splatter art is a broad avenue for boundless creative exploration. It's easily accessible, cost-effective, and becomes incredibly engaging once you start.
The technique is suitable for all skill levels. For beginners, it offers immediate beautiful effects, while advanced artists can experiment with intricate layering methods.
Bear in mind that there's no incorrect way to splatter paint. Each piece you create is unique and extraordinary. Celebrate the randomness and let your creativity take the reigns.
Begin with straightforward projects and gradually experiment with more complex concepts. Most significantly, remember to enjoy the process. Art is about self-expression and bliss, not only perfection.
So grab an old toothbrush and let the creative journey begin. Your artistry adventure awaits!