Simple Tape Resist Painting: Easy Pattern Tutorial
Unleashing Your Creativity: A Simple Guide to Tape Resist Painting
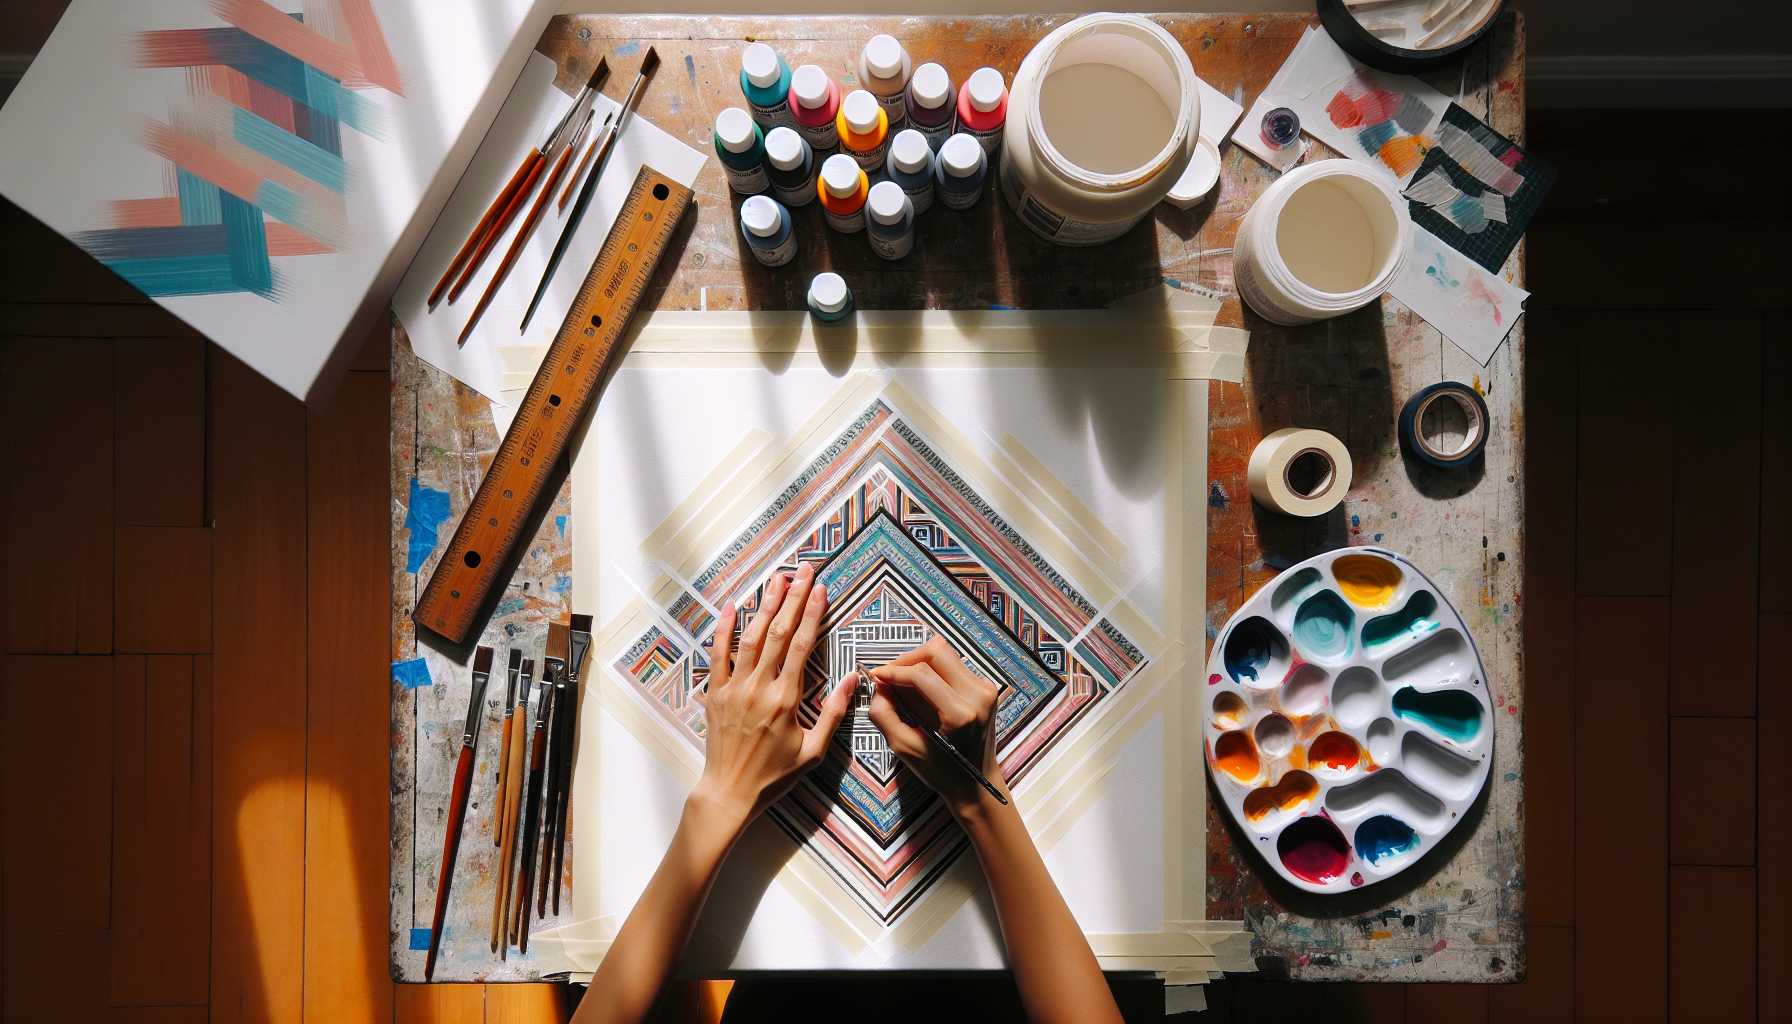
Have you ever yearned to design flawless stripes or geometric patterns on your artwork? Tape resist painting could potentially become your new favorite artistic pursuit! This straightforward technique allows even non-professionals to produce artworks with neat, polished lines.
So, What Exactly is Tape Resist Painting?
Tape resist painting involves using masking tape to shield certain areas from paint. When you remove the tape, you'll reveal unpainted sections resulting in spectacular patterns. It's almost like magic, but much simpler to master!
This method can be applied on various materials including paper, canvas, wood, and even walls. The best part? You likely have all the necessary tools at your disposal already.
Essential Supplies for Tape Resist Painting
You don't need a lot to get started with tape resist painting, just a few basic items:
- Masking tape or painter's tape
- Paint (acrylic is excellent)
- Brushes or sponges
- Paper or canvas
- Pencil for planning
- Ruler (optional)
There's no need for expensive supplies, everyday school supplies are perfect for beginners.
A Step-by-step Guide to Success
Planning Your Design
Start by lightly sketching your pattern with a pencil. Simple geometric shapes such as stripes, triangles, or a checkerboard pattern are ideal for beginners.
Don't overcomplicate your first project. You can always explore more intricate designs later.
Setting Down the Tape
Firmly adhere the tape following your penciled lines. Ensure the edges are fully flat, as bubbles or loose spots could allow paint underneath.
Take a moment to smooth the tape edges with your fingernail or a credit card. This added attention to detail significantly improves your final product.
Painting Over the Tape
Now for the exciting bit! Proceed to apply your paint over the tape and exposed areas. Don't shy away from painting directly on the tape.
Use gentle, dabbing strokes as opposed to brushing back and forth, to prevent the paint from breaching under the tape edges.
Peeling Off the Tape
The most satisfying step is peeling the tape off while your paint is still somewhat damp. Pull at a 45-degree angle for the best results.
Take your time to appreciate your pattern taking shape. It's truly gratifying!
Expert Tips to Perfect Your Results
Picking the Best Tape
Tapes aren't all created equal. Painter's tape is ideal as it peels off cleanly and won't mar your surface. Duct tape or packing tape is not recommended.
Washi tape is a great option for paper projects since it's gentle and available in various colors.
Ensuring Your Tape Edges are Firmly Adhered
The key to achieving sharp lines is thoroughly pressing down the tape edges. This additional effort results in a finish that looks professionally done.
Direction of Your Paint Strokes
Always use strokes that move away from the tape edges, not towards them. This helps to avoid paint accumulation along the tape line.
Timing is Essential
For the best outcomes, remove the tape while the paint is tacky but not overly wet. If you delay until the paint has dried, you might accidentally peel off some paint with the tape.
Exploring Creative Pattern Ideas
Basic Stripes
You can't go wrong with classic parallel lines for easy stripes. Vary the width for added visual appeal. Horizontal stripes create a calm feel, while vertical ones add vibrancy.
Geometric Figures
Experiment with triangles, diamonds or hexagons. They yield modern, trendy patterns that may seem complex, but are actually effortless to realize.
Zigzag Designs
Generate fascinating zigzags by taping diagonal lines. This technique breathes life and style into typical projects.
Grid Motifs
Combine horizontal and vertical taped lines to create grid patterns. Painting alternating squares produces a captivating checkerboard effect.
Overcoming Common Challenges
Paint Bleeding Through the Tape
This issue often arises when tape edges aren't affixed properly. Next time, dedicate more time to ensuring the edges are smooth.
You can preempt this by sealing the tape edges with a thin layer of clear medium before starting to paint.
Difficulties Removing Tape
If the tape seems stubborn, gently warm it with a hairdryer. This should make the adhesive more pliable for easier removal.
Uneven Paint Distribution
This usually signifies a requirement for more paint or improved painting technique. Don't hesitate to apply several thin coats of paint.
Advanced Techniques Worth Trying
Layered Patterns
For a more complex design, try applying tape, painting, removing the tape and repeating the process with new tape patterns.
Color Gradients
Pair tape resist painting with gradient methods for a striking ombre effect.
Mixing Media
Combine tape resist painting with other techniques like stamping or stenciling for a uniquely eclectic piece of art.
Beginner Friendly Project Ideas
Handcrafted Greeting Cards
Create personalized cards with simple stripe or triangle patterns. These are perfect for occasions like birthdays or thank-you notes.
DIY Wall Décor
Produce cost-effective wall accents with canvas and geometric patterns. Combine several small artworks for an impressive gallery wall.
Furniture Upgrades
Revamp old furniture using tape resist painting. Add stripes to drawer fronts or geometric patterns to tabletops.
Bespoke Gift Wrapping Paper
Craft custom gift wrapping paper with simple patterns. Your presents will definitely stand out!
The Magic Behind Tape Resist Painting
The beauty of this technique is that it allows you to paint perfect lines without having to do so by hand. The tape does all the heavy lifting. Even beginners can create art that mimics professional craftsmanship.
It's also quite forgiving. If a project doesn't turn out as expected, you can simply paint over it and start anew.
Final Words
Tape resist painting is an accessible entry point into a realm of limitless creativity. Start with straightforward patterns and gradually experiment with more sophisticated designs.
Remember, every successful artist began as a novice. Don’t be discouraged by initial mistakes, they're stepping stones to mastery.
The most crucial part is to enjoy the process and have fun. You'll find that your unique style will develop naturally as you experiment and gain experience in this versatile technique.
So, are you ready to pick up some tape and start painting? Your first artistic masterpiece might just be a few strips of tape away.